

Table Melt
Description
Section titled “Description”Used to convert short, wide data tables into long, narrow data tables. Selected columns are transposed, with the column names converted into values across multiple rows.
Perhaps the easiest example to understand is to think of a data table with months listed as column headers:
Melting this data table would convert all of the month columns into rows.
Jan/Feb columns collapse into Month + Value rows, keyed by the columns you leave alone.By specifying which columns to transpose and which columns to leave alone, this becomes a powerful tool. Making this conversion in other ETL tools could require a dozen more steps.
Source and Target Parameters
Section titled “Source and Target Parameters”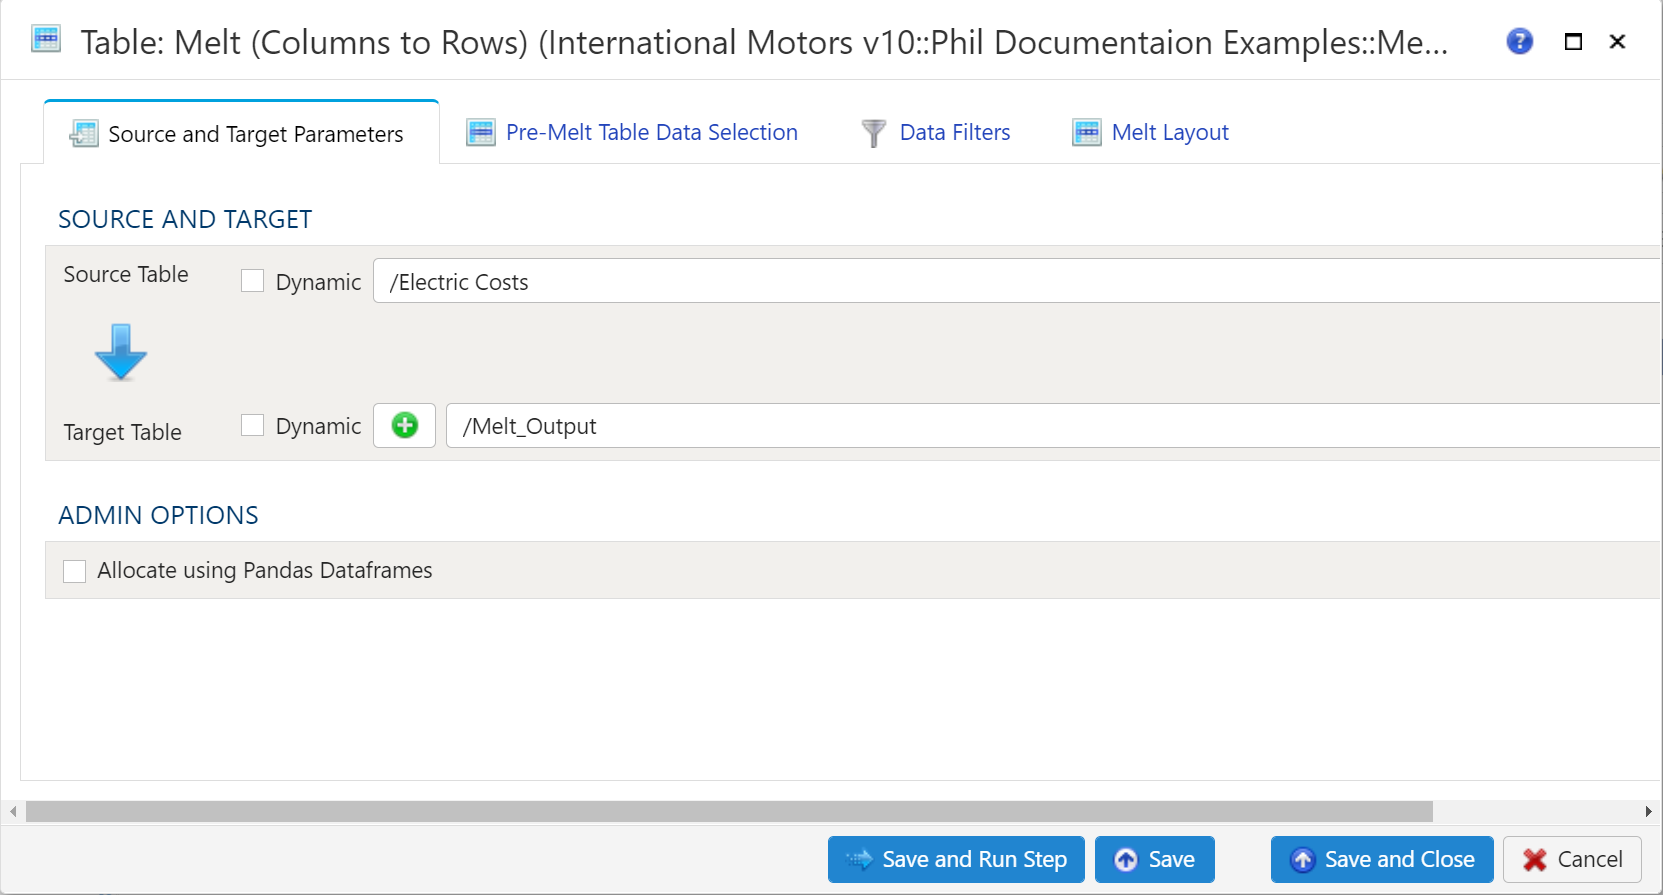
Source and Target
Section titled “Source and Target”To establish the source and target, first select the data table to be extracted from the Source Table dropdown menu.
Target Table

To establish the target table select either an existing table as the target table using the Target Table dropdown or click on the green “+” sign to create a new table as the target.
Table Creation
When creating a new table you will have the option to either create it as a View or as a Table.
Views:
Views are useful in that the time required for a step to execute is significantly less than when a table is used. The downside of views is they are not a useful for data exploration in the table Details mode.
Tables:
When using a table as the target a step will take longer to execute but data exploration in the Details mode is much quicker than with a view.
When the Step Runs
Table Extract, Table Lookup, Table Inner Join, Table Cross Join, Table Outer Join, Table Anti Join, Multi-Table Join, Table Union Distinct, Table Union All, Table Pivot, Table Melt, Table In-Place Delete, Table Upsert and Table Append check their source tables when they run, before they write anything. The check compares the query the step built with each source table as it is at that moment:
- A column the step reads that the table doesn’t have, a join key the table doesn’t have or that isn’t in the step’s source columns, or a source table the step reads that hasn’t been built stops the step. One error names every problem, each with its own fix. A target table that already existed is left as it was, and one the step had to create stays empty.
- A column the step lists but doesn’t read, and the table no longer has, adds a warning. The step runs without it.
- Table Union Distinct and Table Union All are the exception for a source table that hasn’t been built: they leave it out, without a warning, and combine the rest, as they did before. If none of their source tables has been built, they finish with a warning instead of failing.
A step whose target is a view only creates the view, so the columns and join keys it lists are checked against its tables only where the warehouse would refuse to create that view anyway. Elsewhere, only a source table that hasn’t been built or a join key the step doesn’t list stops it, and no warning is added.
Where it can, the error names the step that builds a table, and when the table has a column whose name is close to a missing one, such as one that differs only in case, it names that column too.
Pre-Melt Table Data Selection
Section titled “Pre-Melt Table Data Selection”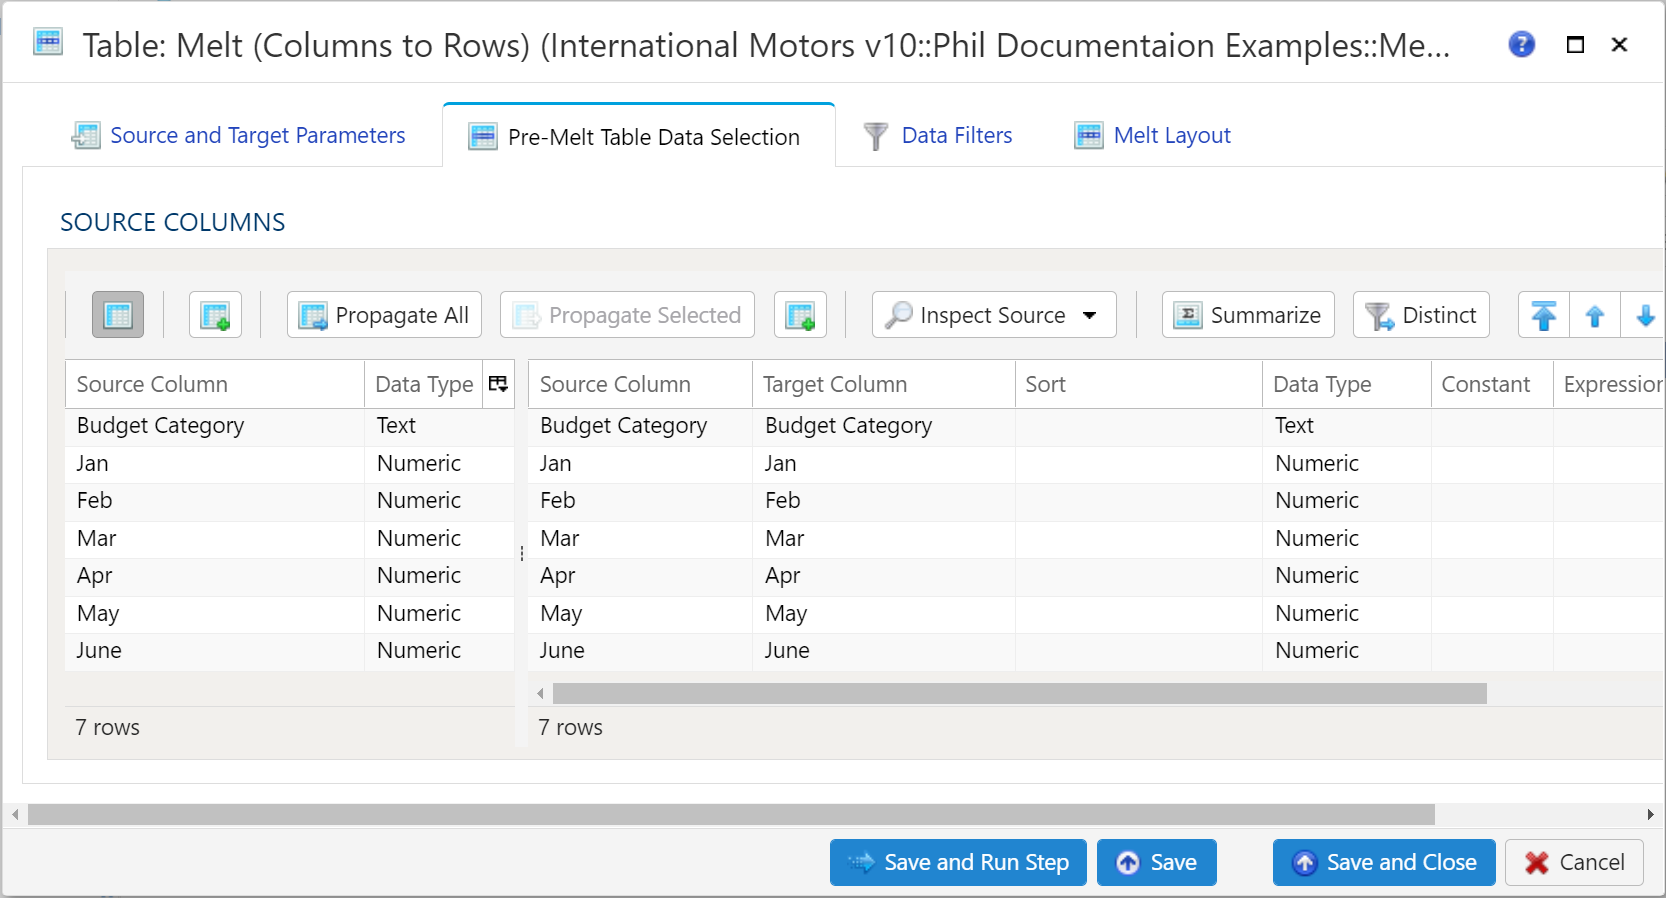
This section is a bit different from the standard Table Data Selection. Basically this is used to specify which columns are to be used in the Melt operation. This includes ID columns and Variable/Value columns.
Saving with a source table chosen but no source or no target columns fills the empty side from the source, as Populate Both Mapping Tables would.
Data Filters
Section titled “Data Filters”To allow for maximum flexibility, data filters are available on the source data and the target data. For larger data sets, it can be especially beneficial to filter out rows on the source so the remaining operations are performed on a smaller data set.
Select Subset of Source Data
Section titled “Select Subset of Source Data”Any valid Python expression is acceptable to subset the data. Please see Expressions
for more details and examples.
Apply Secondary Filter to Result Data
Section titled “Apply Secondary Filter to Result Data”Any valid Python expression is acceptable to subset the data. Please see Expressions for more details and examples
Final Data Table Slicing (limit)
Section titled “Final Data Table Slicing (limit)”To limit the data, simply check the Apply Row Slicer box and then specify the following:
- Initial Rows to Skip: Rows of data to skip (column header row is not included in count)
- End at Row: Last row of data to include. This is different from simply counting rows at the end to drop
Melt Layout
Section titled “Melt Layout”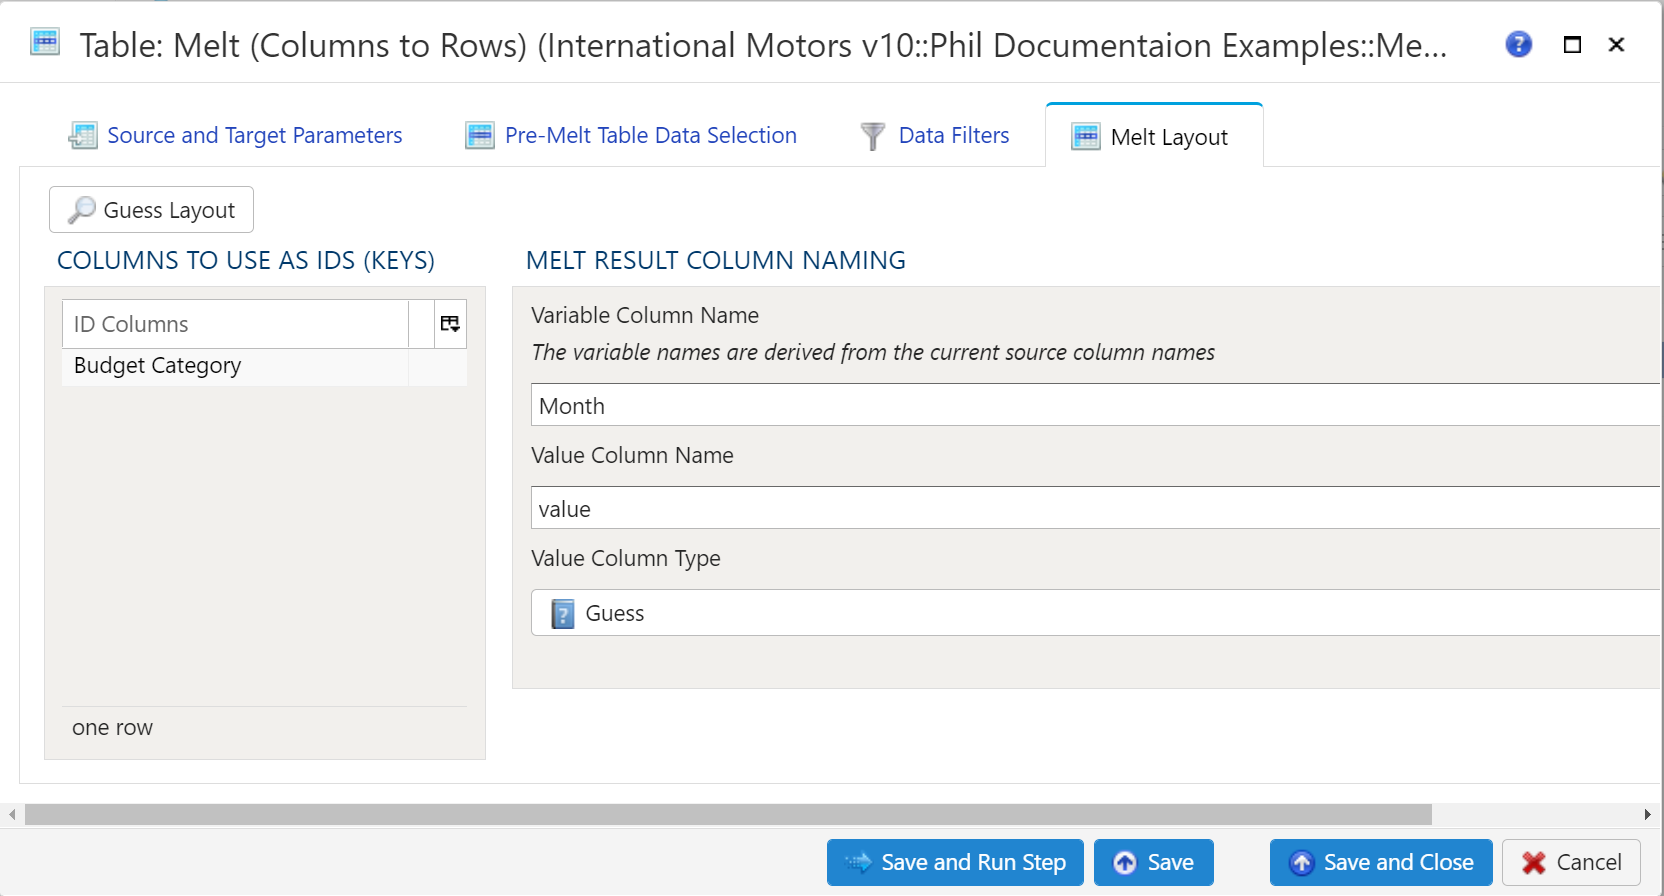
There is a Guess Layout button available to allow Analyze a first crack at specifying ID columns. By default, all text (data type of String) columns are placed in the Keys section. Numeric columns are not placed into Keys by default, but they are allowed to be there based on the model’s needs.
Columns to Use as IDs (keys)
Section titled “Columns to Use as IDs (keys)”ID columns are the columns which remain in tact. These columns are effectively repeated for every instance of a variable/value combination. For a monthly table, this would result in 12 repetitions of ID columns.
ID columns can be added automatically or manually. To add the columns automatically, use the aforementioned Guess Layout button. To add additional columns manually, right click anywhere in the section and select either Insert Row or Append Row, to add a row prior to the currently selected row or to add a row at the end, respectively. Then, type the column name to use as an ID.
To remove a field from the IDs, simply right-click and select Delete.
Melt Result Column Naming
Section titled “Melt Result Column Naming”There are 2 values to specify. Both of these values will become column names in the target data table.
- Variable Column Name: As specified in the transform, The variable names are derived from the current source column names. Essentially, specify a column name which will represent the data originally represented in the source data table columns.
- Value Column Name: Specify a column name to represent the data represented within the source data table. Typically this will be a numerical unit: Dollars, Pounds, Degrees, Percent, etc.
Additional Settings
Section titled “Additional Settings”More Melt Options has these fields:
- Also melt every other column the table has when the step runs (
melt_all_columns) — also melt every column the source table has when the step runs that the step does not list and that is not an ID column, in the order the table has them. - Position Column Name (
position_name) — also write a column of this name holding the 0-based position of each row’s value column among the value columns. - Type Column Name (
type_name) — also write a column of this name holding the data type of each row’s value column, such asinteger,numeric,text,boolean,dateortimestamp.
Examples
Section titled “Examples”In the abouve documentation.